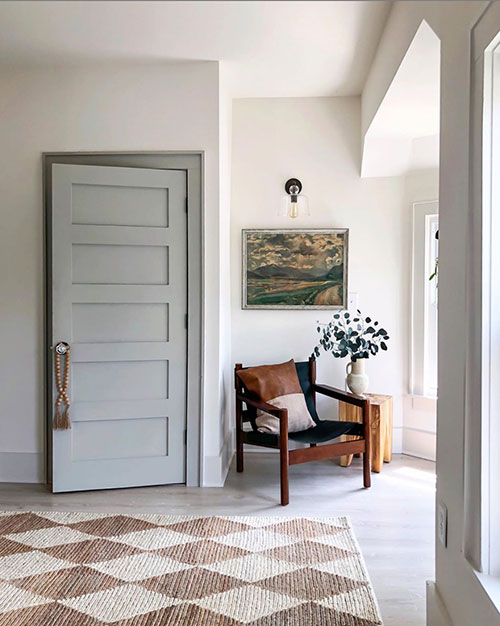
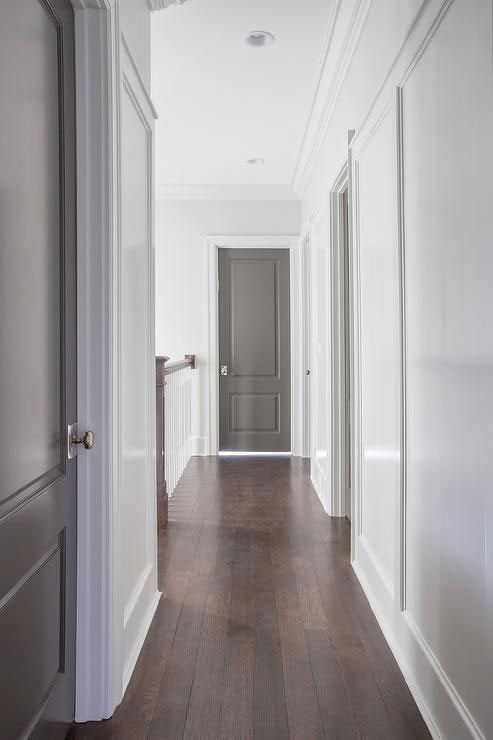
Replacing an Interior Door
Published: July 17, 2020
There are several reasons why you may want to replace an interior door, whether the existing door is damaged, out dated, or was maybe removed by a previous owner. Whatever the reason fear not replacing an interior door is a simple and something that can be taken care of by you.

Selecting a New Interior Door
Before you start removing your interior doors you will want to have their replacements lined up and ready to go. Estate Millwork offers several different types of interior doors such as louvered doors, raised panel doors, flat panel doors, French doors, custom doors and mission doors which are all offered in a variety of styles and different wood species to fit your homes décor.
If you are just replacing the door and leaving the existing jamb you will want to measure the opening in the jamb to find the dimensions of your replacement door leaving approximately 5/8 from the floor and 1/8 on the top of sides of the door for it to move freely within the jamb. You may want to replace the entire door and jamb altogether to make sure this will fit in your opening add ¾" to the top and left and right sides of your door dimensions, so if you are replacing a 30 x 80 door and jamb you will need a rough opening of 32-1/16" x 82-7/16". Estate Millwork offers the standard interior door thickness of 1-3/8" inches as well as 1-3/4" and 2-1/4".
Remove the Old Door
Removing the old door is a fairly simple process, we suggest removing the pins from the hinges starting at the bottom and then lifting the door out. If the hinges are stuck you can insert a screw driver underneath the pin and tap it with a hammer until the pin loosens and starts to pop up. In some rare occasions you may encounter a fixed hinge where the pin is secured to the hinge and unable to be removed. In this case you should remove the screws from the hinges on the door first starting at the bottom.
Once the door has been removed you will want to remove all hardware including the door handle and hinges and place them in safe place if you are planning on reusing them. Keep in mind how the handle came apart to simplify the process when it comes time to put it back together.
Installing the New Door
Even after all your meticulous measuring and re-measuring you will want to verify the new door will indeed fit into the opening. You can easily accomplish this by laying the new door down on top of the old door and lining up the tops and door knob sides. If the new door is bigger than the old door mark off on the new door where it needs to be trimmed, if you are removing anything less than 3/16" we suggest using a hand plane instead of a saw. Once trimmed double check the dimensions by repeating the process until all edges are flush.

Installing the Hardware
You'll first want to install the hinges, with the new door laying on top of the old door with the edges flush use a square to mark off the hinge mortises on the new door to match their location on the old door. Next you will need to remove the material where the hinges will go so that they lay flush with the door, this can be accomplished with a mallet and chisel or a router. If using a mallet and chisel first outline the hinge mortises and then hold the chisel at a slight horizontal angle to prevent it from digging in too deep and lightly tap to chip away the wood and clear the mortise. After the mortises are cleared test them by placing a hinge leaf in the spot to make sure it will sit flush with the edge of the door. Once you get the perfect fit set the hinge leaf in the mortise and drill piloting holes through the center of the screw holes. Finally attach the hinges to the door.
If you haven't already and if possible we suggest removing the pins from the hinges and screwing the adjacent leaf into the jamb and then lining up the hinge knuckles and inserting the pins. While test fitting the door look to see where the strike plate meets the door and mark this with a pencil. If using a new lockset place the template down on the door and mark for the door knob and latch, otherwise if using the old lockset take the measurements from the old door. To drill the doorknob face bore use a 2-1/8" hole saw and cut out the edge bore for the latch use a 7/8" spade bit.
If your door is unfinished once everything has been cut out and fits properly remove it so you can finish the door with a stain and clear coat or paint. Make sure you coat the door evenly including the top, bottom and sides. Once the door is dry you can re-attach all of the hardware and hang the door. Now you can test the door to see if it swings smoothly and latches correctly with the strike plate, you may need to reposition the strike plate if it doesn't quite line up.
Build your new Custom Louvered Doors and get a Free Instant Quote Today
Our state of the art designers allow you to design and build completely customized Louvered Doors to fit your exact needs.
Questions or concerns contact us here or via 412.641.0177 .
Build an Instant QuoteGet Started Designing Your New Solid Wood Doors Today!
Check Out Our Line of Louvered Doors
Need Help?
Contact Us @ 412.641.0177
Recently Published
Built To Last: Handcrafted Pergolas Made Just For You
Published: April 14, 2025
Handcrafted Wooden French Doors – Classic Beauty
Published: February 25, 2025
Wooden Bahama Shutters: A Classic Touch For Coastal Living
Published: February 12, 2025
Wooden Raised Panel Doors: A Blend Of Tradition And Durability
Published: February 05, 2025
Maximizing Ventilation And Privacy With Wooden Louvered Doors
Published: January 28, 2025
Wooden Louvered Shutters: A Sustainable Choice For Your Home
Published: January 23, 2025
Wooden Barn Doors: Bringing Farmhouse Style To City Living
Published: January 14, 2025
Rustic Charm To Modern Sophistication: Wooden Flat Panel Shutters
Published: December 27, 2024
Transform Your Kitchen: The Benefits Of Refacing Cabinets With Wooden Doors
Published: December 12, 2024
From Rustic To Modern: Arched Wooden Doors For Every Style
Published: November 25, 2024


